


Following on from our Step-by-Step Guide to Creating Fine Art Prints from Your Original Artwork, in this blog post we are going to guide you through the process for preparing those images into digital files for fine art printing.
Print file setup may sound daunting, but fear not - we are here to make sure you cover all your bases and get the best fine art print results. So, buckle up and let's get started!

For this you will need a program like Photoshop, Affinity or Procreate to prepare your print files. If you’re not familiar with any of them, ask your graphic designer friend or young Gen Z family member to help you out. These steps can also be applied if you are creating digital art in a illustrative program.
Step 1: Pick the Perfect File Format
Before we start setting up the print files, we need to pick the perfect file format. TIFF is the go-to format for fine art printing. It's like a magician's hat - it keeps all the details and quality of the original image. Unlike JPEG, which squishes the image, TIFF keeps everything in place. If you are tight on space and can’t store large TIFF files JPEG does work for smaller printed works.
Step 2: Check your resolution
The next step is to make sure the resolution of the image is right, fine art printing requires a higher resolution than standard printing. Aim for a resolution of 300 DPI (dots per inch) - that's like making sure every brushstroke is in its place. This ensures that the details in the image are sharp, and the colours are vivid.
Step 3: Choose the right colour profile
We're all about the colours, baby! The colour space is a range of colours that can be displayed or printed. The most common colour spaces for fine art printing are sRGB and Adobe RGB. Think of sRGB like a cute little cactus - it's a standard colour space suitable for web-based images. Adobe RGB is like a jungle - it has a broader range of colours and is better for printing. Using the right colour space ensures that the colours in the final print are accurate and vibrant.

Step 4: Size your file
Now let's talk size. Fine art prints come in various sizes, so it's important to ensure that the image is the right size for your desired print. This is like putting the frame on your painting - it needs to fit like a glove. Use a ruler to measure the dimensions of the image or software like Photoshop to set the right dimensions. Tip - if you’re printing A-series sizes set your dimensions to the largest size you’re going to print, you can use that one file to scale down and print smaller sizes.

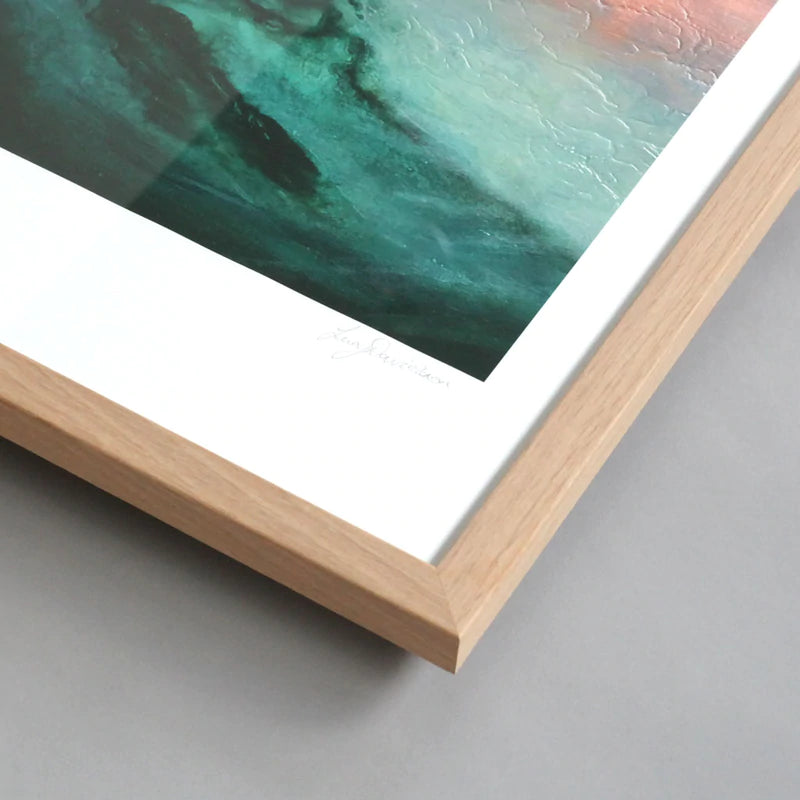
Step 5: Decide on borders
To border, or not to border? Now is the point you want to think about adding borders to your print file. Ensure the border is just right, you don’t want something too small or too large for the artwork. Be sure to leave extra space at the bottom for a balanced look and room for a signature. Tip - 40mm border with a 50mm drop on a A2 size print is a good default border size.
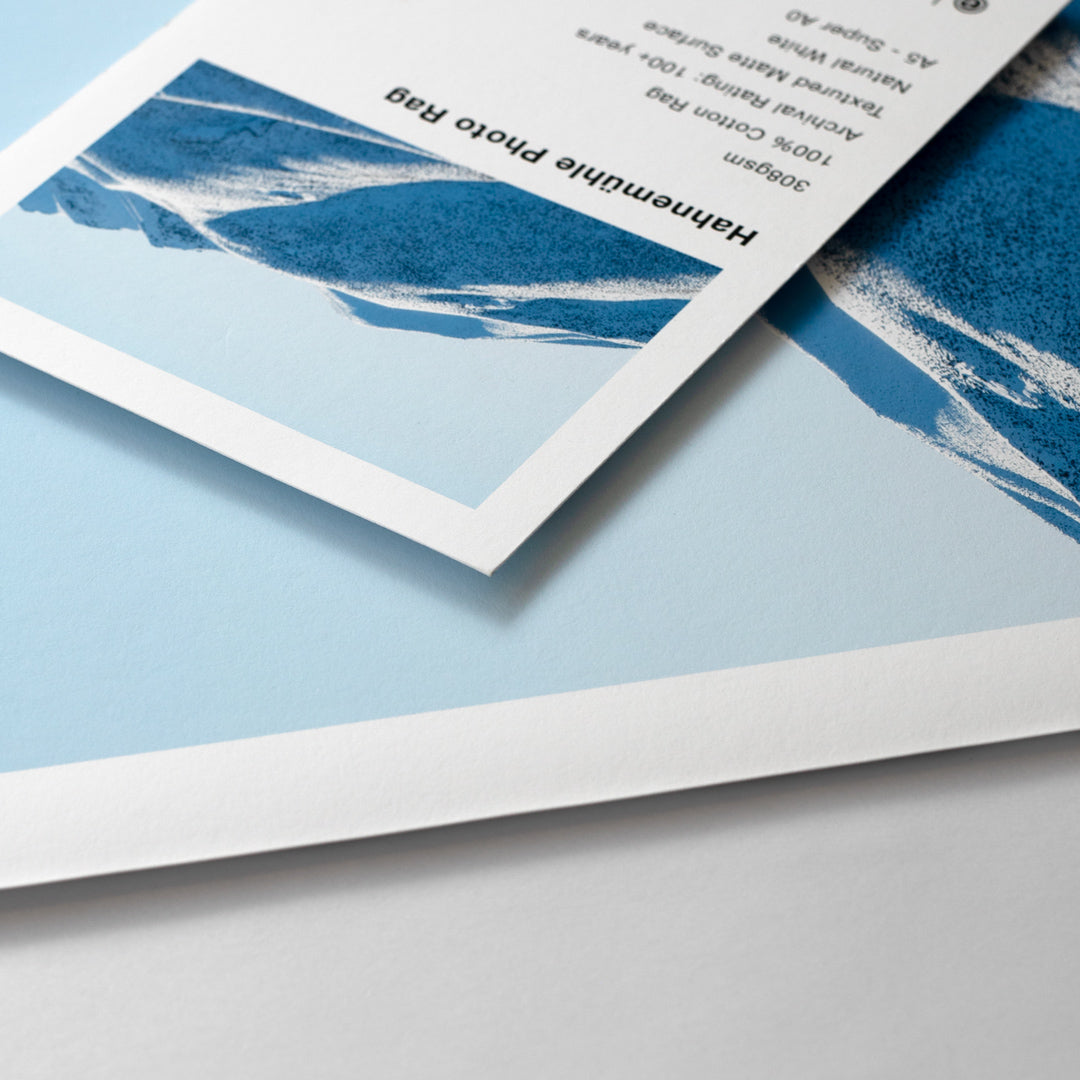
Step 6: Paper, Please
This step is like choosing your outfit for the day - it's all about the vibe! Fine art prints come in different paper types, each with its unique texture and finish. It's like choosing the right accessories to complete your look. Make sure to choose the right paper type that complements the image and the your vision for the print. We recommend test printing on a range of papers as a helpful way to decide on paper.
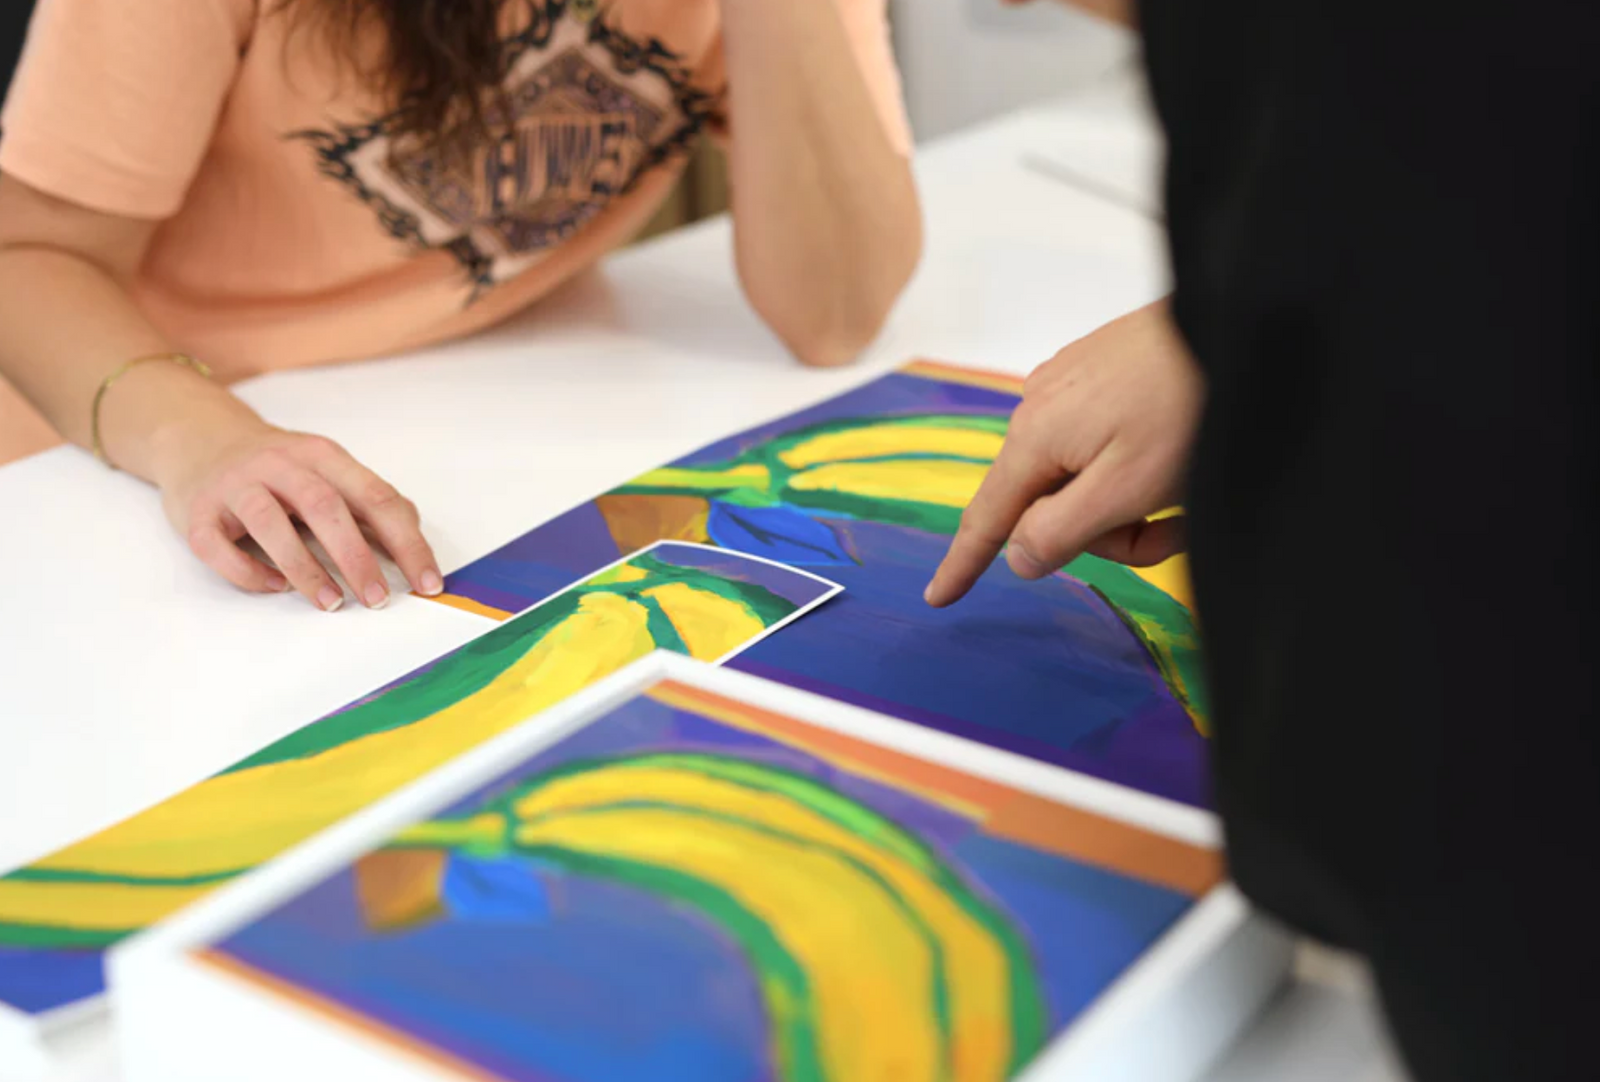
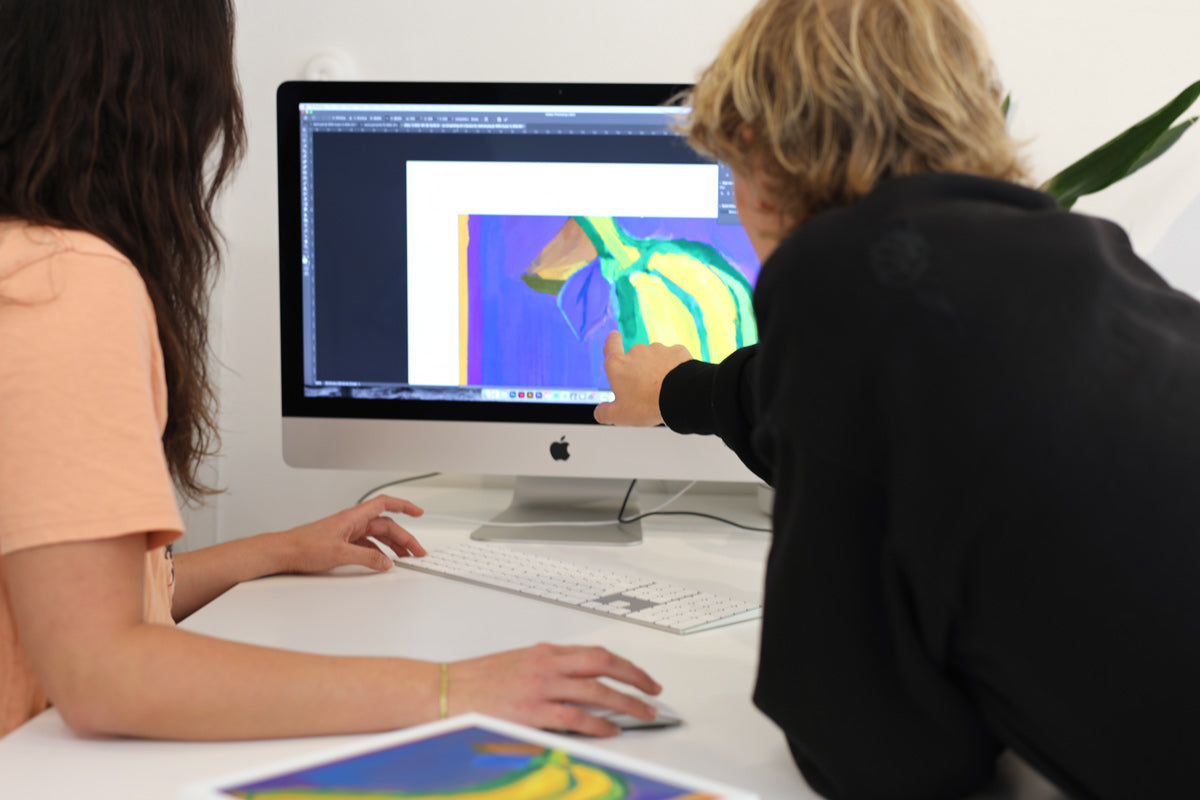
Step 7: Run some test prints
Fine art prints aren’t always perfect right away, and may require some tweaking to the digital files to make double sure it’s as perfect as it can be. Best way to know if it needs further work is to run some test prints and see a sample in the real. Then go away and make any changes you want before committing to the final print file.

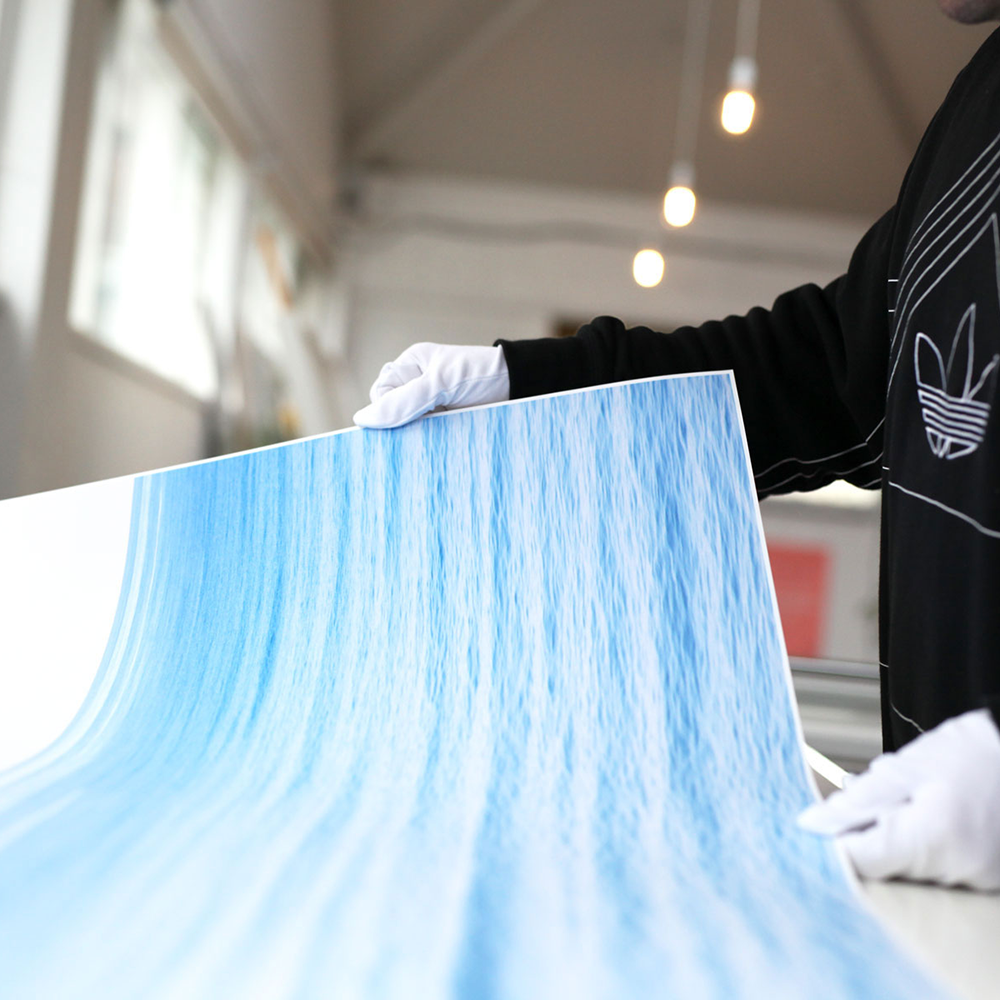
Step 8: Find a pro printing service
Last but not least, let's trust the pros. Fine art printing requires specialised equipment and expertise. Save yourself the time and frustration by trusting an expert who knows what they’re doing - choose a printing service like Artists Services that specialises in fine art printing and has the necessary equipment and expertise to produce high-quality prints.
Helpful tips
- Name your files - there’s nothing worse than losing your file to a messy server where everything is named image_1.TIFF or my personal favourite 278590A_37.jpeg
- Keep files on a server - USB sticks and hard drives are great until you lose one or the other crashes. Keeping finished files on a server like Dropbox or Google Drive is great for simple access anywhere, anytime.
There you have it - a step-by-step guide to setting up print files for fine art printing. Having these skills on board will help make this kind of prep a breeze in the future and will have you prepping files like a master.